What would you do if you had staffed bananas getting frost bite in the freezer and a baseball bat of a zucchini you grew threatening to go soft in the crisper? There are, of course, any number of things you could do given these circumstances. As I have an extreme fondness for both banana and zucchini bread, I decided to make zucchini banana bread.

I didn't have a recipe, but after reading five or six recipes for other types of sweet, quick breads, I cobbled together this one. And then doubled it because do you know how many cups of grated zucchini my baseball bat gave me? Six, two of which I had to put in the fridge for use in something else. The recipe, although a confirmed success, could probably use some tweaking--a little less butter, maybe, or a tad a less sugar (because bananas are sweet!).
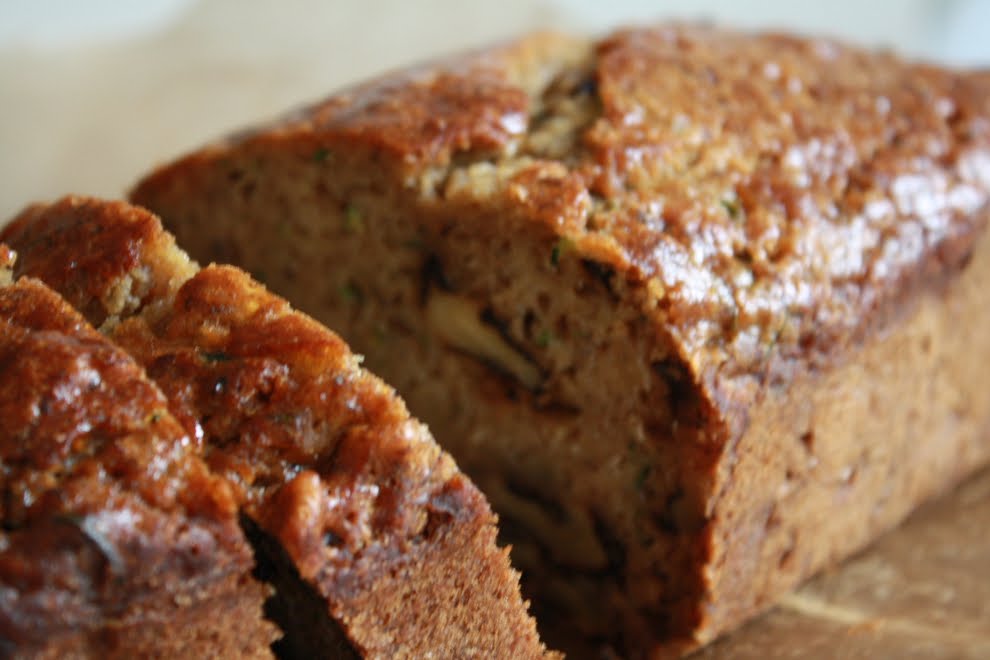
Zucchini Banana Bread
makes two 9x5-inch loaves
- 3 cups all-purpose flour
- 2 1/2 tsp. baking soda
- 1/2 tsp. baking powder
- 1 tsp. salt
- 1/2 tsp. ground cinnamon
- 1/4 tsp. ground cloves
- a few gratings of nutmeg
- 1 cup butter
- 1 cup sugar
- 4 eggs
- 1 1/2 tsp. vanilla
- 4 bananas, mashed
- 4 cups grated zucchini
- 2 cups walnut halves
- Preheat oven to 350°F. Butter and flour two 9x5-inch bread pans and set aside.
- Combine the flour, baking soda, baking powder, salt, and spices in a bowl and set aside. Cream the butter and sugar until light and fluffy then add the eggs, one at a time, beating well after each addition. Add the vanilla and banana pulp and mix mell. Gradually add the flour mixture, mixing well after each addition. Stir in the grated zucchini then the walnuts and mix until they are evenly distributed.
- Pour batter into prepared bread pans and bake for one to one and a quarter hours, or until a skewer inserted into the center of a loaf comes out clean. Allow to cool in the pans for several minutes, then turn out onto wire racks to cool completely.
A nice bake for a cold, damp day.
This bread is good warm out of the oven, though it's best not to cut it hot; it's good the next day at room temperature; but it is especially good sliced and toasted and enjoyed alongside a nice cup of something hot.